Kinemaster Green Apk Download
Everything You Need to Know About Your Mobile Green Screen App
Master green screen editing app features: chroma key, AI removal, 4K export & pro tips for stunning mobile videos!
What a Green Screen Editing App Can Do for Your Videos
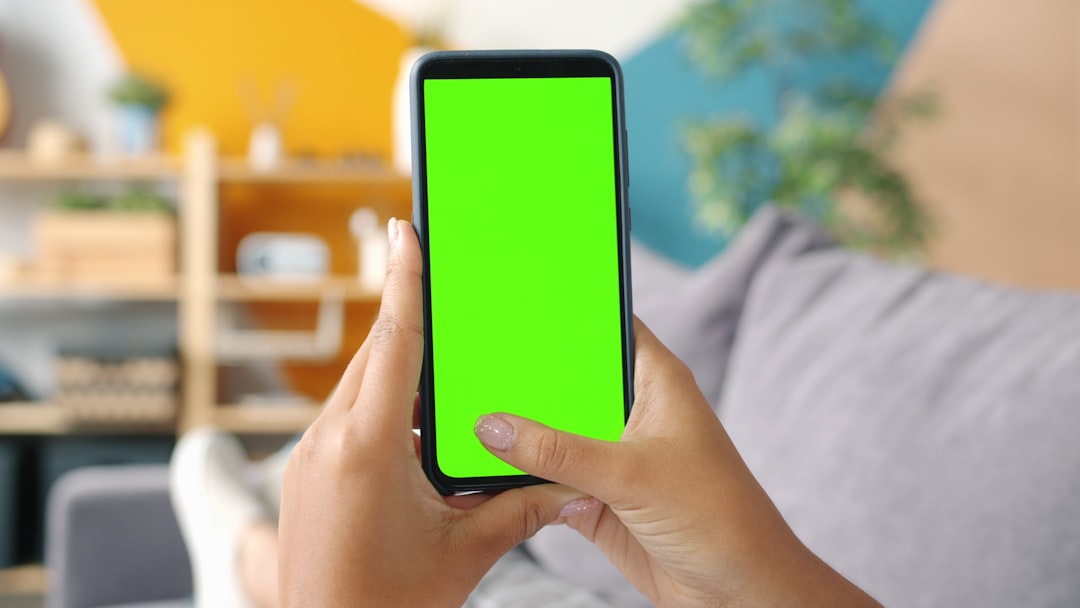
A green screen editing app lets you replace any solid-color background in your video with an image, video, or animated scene — right from your phone. This technique is called chroma keying, and it’s the same technology used in Hollywood films and TV weather forecasts.
When choosing a green screen app for mobile, look for these key features:
- Expert Editing & 4K Export: Essential for professional-grade results (found in KineMaster).
- AI Background Removal: Perfect for beginners who don’t have a physical screen.
- Multi-Layer Support: Necessary for complex storytelling and educational projects.
- Live Recording: Great for social media and quick weather-style updates.
Most apps work in one of two ways:
- Chroma key — removes a specific color (usually green or blue) from your footage
- AI background removal — uses machine learning to detect and erase backgrounds without a physical green screen
Both methods let you swap in any background you want — a city skyline, a jungle, a weather map, or anything else.
Getting started is simpler than most people think. You don’t need a professional studio. Many apps handle the heavy lifting automatically, even on budget Android phones.
I’m Faisal Shahzad, and I’ve spent years helping mobile creators get professional-quality results using tools like KineMaster — including mastering every major green screen editing app available on Android and iOS today. In this guide, I’ll walk you through everything you need to know, from basic setup to advanced 4K export.

Understanding Chroma Key Technology in a Green Screen Editing App
To master any green screen editing app, we first need to understand the science behind the “magic.” Chroma key technology is a visual effects technique used to composite two images or video streams together based on color hues. In the digital world, we call this digital compositing.
When we use a green screen, we are telling our software to look for a very specific shade of green and make it completely transparent. Once that green is “keyed out,” whatever is on the layer underneath becomes visible. This allows us to transport ourselves from a living room to a Martian landscape in seconds.
Why Green?
You might wonder why we don’t use red or purple. Historically, blue was the standard in the film industry. However, digital camera sensors are much more sensitive to green. Green also requires less lighting to appear vibrant, making it easier for a mobile green screen editing app to recognize and remove. Most importantly, green is the color furthest from human skin tones, which prevents the app from accidentally making your face transparent!
Managing Color Spill and Transparency
A challenge we face is “color spill.” This happens when green light reflects off the background and onto our subject, creating a weird glowing green edge around their hair or shoulders. A high-quality green screen editing app like KineMaster includes “spill suppression” or “mask strength” tools to clean up these edges. By adjusting the transparency control, we can ensure the subject looks like they truly belong in their new environment.
Image Segmentation and AI
Modern apps have evolved beyond just looking for a single color. We now use semantic image segmentation. This is a type of AI that can identify “this is a person” and “this is a wall.” This allows for background replacement even without a physical green screen, which is a total game-changer for creators on the move.
Choosing the Best Green Screen Editing App for Education
In the classroom, a green screen editing app is more than just a toy; it’s a powerful storytelling tool. Teachers around the world use these apps to help students explain complex ideas. Imagine a student giving a history report while “standing” in the middle of ancient Rome, or a science project where the student is shrunk down to sit on top of a giant cell model.
For educational purposes, we look for apps that offer:
- Multi-layer editing: Allowing students to stack drawings, text, and videos.
- Prop Libraries: Built-in stickers and animations that make projects pop.
- Simplicity: An interface that a 10-year-old can navigate without a 50-page manual.
Using a green screen editing app in education encourages “app-smashing,” where students use one app to draw a background and another to film their report. This cross-curriculum approach makes learning fun and memorable.
Live Recording vs. Post-Production Editing
When choosing your workflow, you need to decide if you want to see the effect while you record or after you record. Both have their place in a creator’s toolkit.
| Feature | Live Recording Apps | Post-Production Apps (KineMaster) |
|---|---|---|
| Real-time Preview | Yes – see the background while filming | No – you see the green while filming |
| Precision | Lower – hard to fix mistakes later | High – frame-by-frame adjustments |
| Weather Forecasts | Excellent for “live” feel | Better for cinematic quality |
| Layers | Usually limited to 1-2 layers | Supports multiple video/audio layers |
| Flexibility | Background is “baked in” | Can change background anytime |
Live recording is fantastic for social media influencers who want to react to a trending video or for amateur weather forecasters. However, for professional-level content, we always recommend post-production editing. This gives us the ability to use timeline editing to trim clips with frame-by-frame precision and add complex motion graphics that live apps just can’t handle.
Professional Setup: Lighting and Background Essentials
Even the most expensive green screen editing app will struggle if your raw footage is poor. The secret to a perfect “key” isn’t the app; it’s the lighting.

1. Even Lighting is King
The goal is to make the green background look like one solid, flat color. If one side is bright and the other is in shadow, the app will see two different colors. This leads to “grainy” or “flickering” backgrounds. We recommend using at least two lights dedicated solely to the green screen to wash out any shadows.
2. Avoid Shadows
The subject should stand at least 3 to 6 feet away from the background. If you stand too close, your body will cast a shadow on the screen. Shadows turn the bright green into a dark muddy green, which the green screen editing app won’t be able to remove cleanly.
3. Choose the Right Material
While you can use a painted wall, many pros prefer matte fabric. Avoid anything shiny or reflective, as this creates “hot spots” that ruin the chroma key effect. If you’re on a budget, a non-reflective green poster board or even a well-ironed green bedsheet can work in a pinch!
4. Color Contrast
Ensure your subject isn’t wearing anything green. If they wear a green tie, they’ll end up with a hole in their chest! This is why having a high color contrast between the subject and the backdrop is essential for the software to do its job.
Advanced Features: AI Removal and 4K Export
We are living in an era where “AI” is no longer a buzzword—it’s a functional tool. Modern green screen editing apps are now capable of background erasure without a physical screen. This is perfect for vlogging in public places where you can’t exactly carry a 10-foot green cloth.
The Power of AI Segmentation
Using semantic segmentation (like Google’s DeepLab technology), apps can now identify humans and separate them from the background in real-time. While it’s not always as perfect as a professional green screen setup, it’s incredibly effective for social media content. More info about green screen maker services can help you understand how these automated tools are evolving to provide stunning effects in seconds.
4K Resolution and UHD Export
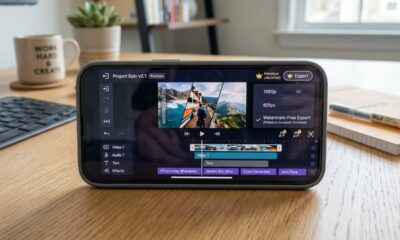
In 2026, 1080p is the bare minimum. If you want your content to look professional on large screens or high-end smartphones, you need 4K export. KineMaster supports exporting in UHD 4K, ensuring that your composite video remains sharp and vibrant.
That 4K editing requires significant device processing power. If your phone starts to heat up or the app lags, you might need to use “proxy” files or lower your preview resolution while you work, then switch back to 4K for the final export.
Step-by-Step Guide to Mobile Chroma Keying
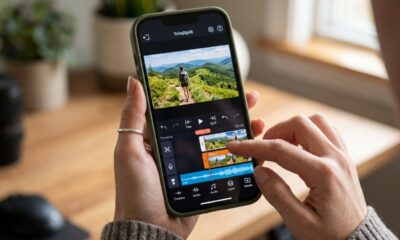
Ready to start? Let’s walk through the process of using the most powerful green screen editing app on the market. We’ll use KineMaster as our primary example because its multi-layer timeline is the industry standard for mobile.
Step 1: Start Your Project
Open the app and create a new project. Choose your aspect ratio (16:9 for YouTube, 9:16 for TikTok/Reels).
Step 2: Import Your Background First
This is the most common mistake beginners make. You must import your background (the place you want to be) as the “Media” layer first. This becomes the foundation of your timeline.
Step 3: Add Your Green Screen Footage as a Layer
Click on “Layer” and then “Media.” Select your green screen video. It will appear on top of your background. Resize it so it fills the screen or fits where you want it.
Step 4: Enable Chroma Key
With the green screen layer selected, look for the “Chroma Key” option in the right-hand menu. Toggle it to “Enable.”
Step 5: Fine-Tune the Settings
The app will try its best to remove the green automatically, but you’ll likely need to adjust the sliders:
- Show Mask: This turns your video black and white. Your subject should be pure white, and the background should be pure black.
- Tolerance/Strength: Adjust this to remove any lingering green “fuzz.”
- Edge Feathering: Softens the edges of your subject so they blend naturally into the background.
- Spill Suppression: Removes that annoying green tint from your hair or clothes.
For a deeper dive into these technical settings, check out our guide on Chroma key in KineMaster: 13 steps to stunning visuals.
Step 6: Export in High Quality
Once you’re happy with the blend, click the export button. Choose 4K resolution and a high frame rate (like 30 or 60 fps) for the smoothest results.
Troubleshooting Your Green Screen Editing App
Even pros run into issues. Here are the most common problems we see and how to fix them:
- The “Green Halo”: This is caused by color spill. Move your subject further from the screen or use the “Detail Curve” in KineMaster to sharpen the edges.
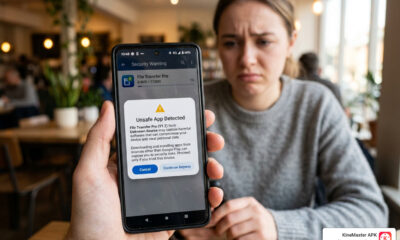
- Watermarks: Many free apps put a giant logo over your hard work. We know how frustrating this is for professional creators. That’s why many users look for KineMaster APK versions that offer watermark-free exports.
- HDR Issues: Some users report that HDR videos lose color saturation or see a drop in frame rate after export. If this happens, try disabling HDR in your phone’s camera settings before filming your green screen footage.
- Device Compatibility: If the “Chroma Key” option doesn’t appear, your phone might not have the processing power to handle multiple video layers. Ensure your app is updated to the latest version, as developers often release “AI Eraser” modes that work on older devices.
- Privacy and Data: Always check the developer’s privacy policy. Some apps collect usage data or diagnostics. If you’re concerned about privacy, look for apps that offer local AI processing, meaning your videos are never sent to a cloud server for editing.
Frequently Asked Questions
How do I remove a background without a physical green screen?
You can use an “AI Background Remover” feature found in many modern green screen editing apps. These tools use semantic image segmentation to identify the human form and mask out everything else. While it’s not as precise as a physical screen, it works surprisingly well for casual content.
Why is my green screen footage flickering or grainy?
This is almost always a lighting issue. If your background has shadows or “hot spots,” the app struggles to decide which pixels to remove. Ensure your lighting is even across the entire screen. Additionally, check your camera’s ISO settings; high ISO creates digital noise (grain), which confuses the chroma key engine.
Can I export green screen videos in 4K on mobile?
Yes! High-end apps like KineMaster support 4K UHD export. However, this depends on your hardware. If you are using a phone from 4-5 years ago, you might be limited to 1080p. Modern flagship devices can handle 4K 60fps editing with ease.
Conclusion
Creating professional-looking videos used to require a studio worth thousands of dollars. Today, all you need is a green screen editing app, a piece of green fabric, and a bit of creative spark. Whether you are a teacher looking to engage your students, a gamer wanting to appear inside your favorite world, or a filmmaker crafting a masterpiece, the tools are right in your pocket.
At KineMaster APK, we believe that professional features should be accessible to everyone. Our platform provides access to premium tools, including 4K export and a massive asset store, without the limitations of official subscriptions. We want to see you push the boundaries of what’s possible on mobile.
Ready to take your content to the next level? Download the best green screen editing app today and start building your own digital worlds. The only limit is your imagination!


-

 Best Kinemaster MODs6 months ago
Kinemaster for Beginners: Your First Video in 15 Minutes (No Experience Needed)
-
 Kinemaster Black2 years ago
KineMaster Black Download Latest Version v8.5
-
 Red Kinemaster Download2 years ago
Red Kinemaster Download Apk Latest Version v7.4.11.32428.GP Without Watermark
-
 Kinemaster Old Version2 years ago
KineMaster Old Versions 7.4.10.32410.GP Without Mark
-
 Kinemaster without watermark2 years ago
Kinemaster without watermark Download Latest Version 4.15.5.17370.GP
-
 Kinemaster Diamond Mod Apk2 years ago
Kinemaster Diamond Mod Apk Download Pro Version V7.4.0.32260.GP
-
Best Kinemaster MODs8 months ago
kinemaster pro apk download 2025 full unlocked + no watermark kinemaster mod apk
-
 Kinemaster Blue Apk2 years ago
Kinemaster Blue Apk Download Without Watermark | Latest Version]