Kinemaster
Mastering the Art of the Green Screen Video Maker
Master green screen video maker techniques: chroma key steps, AI tools, best practices for pro visuals in KineMaster.
What Is a Green Screen Video Maker (and Which One Should You Use)?
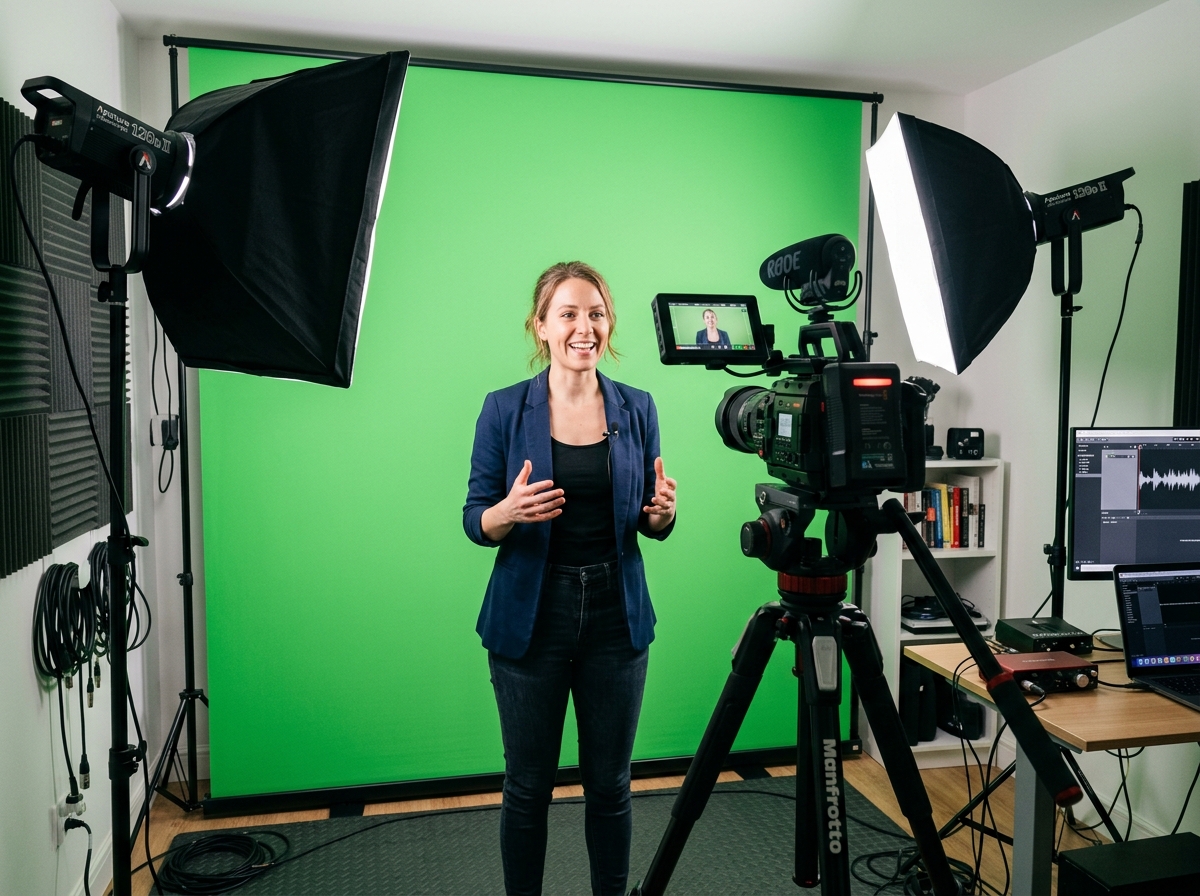
A green screen video maker is a tool that lets you film yourself in front of a solid-colored backdrop — usually green — and then swap that background for any image or video you choose. This technique is called chroma key, and it’s how Hollywood movies, TV weather forecasts, and YouTube creators all place subjects into scenes that don’t actually exist.
The core steps for any green screen video maker are:
- Film your subject in front of a solid green (or blue) background
- Import the footage into your editor
- Apply the chroma key effect to remove the colored background
- Replace it with your chosen image or video
- Refine the edges and export
Even if you don’t have a physical green screen, modern AI-powered tools can detect and remove backgrounds automatically — no green cloth required.
I’m Faisal Shahzad, a video editing specialist with hands-on experience testing mobile-first tools like KineMaster for background removal and professional green screen video maker workflows. In this guide, I’ll walk you through everything from the basics of chroma key to step-by-step editing on your phone.

Understanding the Green Screen Video Maker and Chroma Key Technology
At its heart, a green screen video maker relies on a process called chroma keying. This technology works by identifying a specific color (the “key”) in a video frame and making it transparent. Once that color is gone, any image or video placed on the layer below “shows through,” creating a seamless composite.
Why do we use green? In the digital era, green is the most popular choice because digital camera sensors are highly sensitive to green light, allowing for a cleaner “key” with less digital noise. Furthermore, green is rarely found in human skin tones or hair, which prevents the software from accidentally removing parts of the person being filmed!
When you use a professional tool like KineMaster, you aren’t just deleting a color; you are engaging in sophisticated layering. You place your background (the “base”) on the main timeline and your green screen footage as an “overlay” or “layer.” By activating the chroma key tool, you tell the app to ignore the green and show the base layer instead. For those looking to dive deeper into the technical setup, you can check out this guide on chroma key in KineMaster.
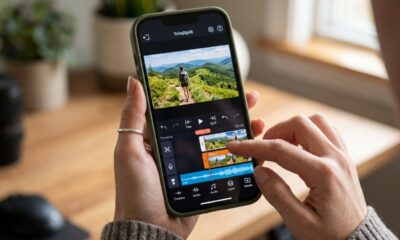
Step-by-Step Guide: How to Use a Green Screen Video Maker
Using a green screen video maker might feel like magic, but it follows a very logical workflow. Whether you are creating a news report for school or a viral TikTok, the process remains largely the same.

The Essential Workflow
- Import Your Background First: In most mobile editors, the first thing you add to your project is the “destination”—the image or video you want to appear behind you.
- Add the Green Screen Layer: Use the “Layer” or “Overlay” function to import your green screen clip. It must sit on top of the background in the timeline.
- Activate Chroma Key: Select the green screen clip, find the Chroma Key tool, and toggle it on.
- Select the Key Color: Use the eyedropper tool to pick the exact shade of green from your video. This is crucial because lighting can make “green” look different in every shot.
- Adjust Threshold and Strength: Use sliders to fine-tune the removal. You want to reach a point where the green is entirely gone, but the edges of your subject remain sharp.
- Edge Refinement: Use mask tools to soften the edges (feathering) so the subject doesn’t look like a “cut-out” pasted onto the background.
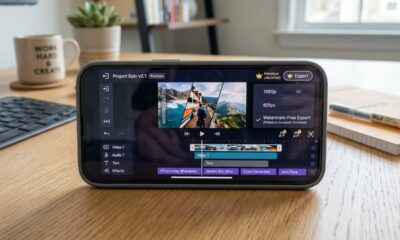
- Final Export: Once you’ve matched the lighting and position, export your masterpiece in 4K resolution for the best clarity.
If you’re curious about how far you can take these effects, we have an extensive look at exploring green screen possibilities that covers creative use cases beyond simple background swaps.
Preparing Your Footage for the Green Screen Video Maker
The secret to a perfect “key” happens before you open the app. If your raw footage is poor, even the best AI won’t save it.
- Lighting is King: You need even, flat lighting across the entire green surface. Avoid shadows at all costs! Shadows create different shades of green, which confuses the green screen video maker. For professional results, many creators use a three-point lighting setup to ensure the subject is well-separated from the background.
- Contrast: Ensure your subject isn’t wearing anything green. If they are, that part of their body will become invisible (unless you’re going for the “floating head” look).
- Fabric Choice: Use non-reflective fabric. A matte green bedsheet can work in a pinch, but professional chroma key muslin is designed to absorb light and prevent “color spill”—where green light reflects off the screen and onto your skin.
- Distance: Stand at least 3 to 6 feet away from the screen. This reduces shadows and prevents that pesky green glow from bouncing onto your shoulders.
Refining the Composite in Your Green Screen Video Maker
Once the background is removed, the work isn’t quite done. To make the video look “real,” you need to match the subject to the new environment.
- Color Correction: If your new background is a sunset, your subject should have a warm, orange tint. Adjust the temperature and saturation of your top layer to match.
- Blending Modes: Sometimes, changing the blending mode to “Overlay” or “Soft Light” for certain effects can help integrate the two layers.
- Spill Suppression: If you see a thin green line around your hair, use the “Spill Removal” or “Detail” sliders. This neutralizes the reflected green light.
- Motion Matching: If your background video is moving, your subject needs to move at a similar scale. If you’re using a static image, adding a slight “camera shake” effect to the final composite can make it feel like it was all filmed on location.
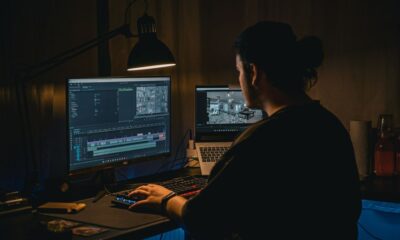
AI vs. Traditional Green Screen Video Maker Tools
The industry is currently split between traditional chroma keying and modern AI-powered background removal. Both have their place in a creator’s toolkit.
| Feature | Traditional Chroma Key | AI Background Removal |
|---|---|---|
| Requirement | Physical green/blue backdrop | No specific backdrop needed |
| Precision | Very high (handles hair/glass well) | Moderate (can “eat” edges of hair) |
| Setup Time | High (needs lighting/fabric) | Instant |
| Processing | Manual adjustment of sliders | Fully automated/One-click |
| Ideal For | Professional films, news, gaming | Social media, quick tutorials |
AI tools use neural networks to identify the human form and “cut” it out from the background. This allows for studio-free production, where you can film in your messy bedroom and instantly transport yourself to a virtual office. However, for high-stakes projects where you need 4K resolution and perfect edge feathering, a traditional green screen video maker with manual controls is still the gold standard.
Best Practices for Professional Results
To truly master the green screen video maker, you should treat your mobile device like a mini Hollywood studio.
- Use Three-Point Lighting: Light your subject with a Key light and Fill light, then use a Backlight (or “Rim light”) to create a thin halo of light around your head. This further separates you from the green background.
- Maintain Brand Consistency: If you are a business, use the same virtual set for every video. You can save your background assets in a dedicated library within your editor for quick access.
- High Frame Rates: Film at 60fps if your device supports it. Higher frame rates provide more data for the chroma key algorithm, resulting in smoother edges during movement.
- Check Your Focus: Soft focus makes for a terrible key. Ensure your subject is tack-sharp so the software can clearly distinguish between the person and the green wall.
For those who want to add some extra flair, you can explore various green screen maker effects to add fire, rain, or futuristic interfaces to your scenes.
Frequently Asked Questions about Green Screen Editing
Can I remove a background without a physical green screen?
Yes! Many modern apps now feature “Magic Remover” or “AI Background Removal.” These tools use subject detection algorithms to separate you from your background regardless of the color behind you. While not as precise as a physical green screen for complex movements, it is perfect for “talking head” style videos.
What is the difference between green and blue screens?
Green screens are brighter and require less light, making them ideal for digital cameras. Blue screens are often used when the subject has blonde hair (which can sometimes pick up green tints) or when filming outdoors where green might conflict with trees or grass. Generally, for indoor mobile editing, green is the way to go.
How do I maintain high video quality after background removal?
To avoid “crunchy” or pixelated edges, always export your video in the highest possible bitrate. If you are using a tool like KineMaster, opting for 4K resolution at 30 or 60fps ensures that the fine details—like individual strands of hair—don’t disappear during the compression process.
Conclusion
The world of video creation has changed. You no longer need a million-dollar studio to transport your audience to another world; you just need a solid green screen video maker and a little bit of lighting know-how. Whether you choose the automated ease of AI or the precision of traditional chroma key, the power to tell your story is now in the palm of your hand.
If you’re ready to start creating without limitations, we recommend using a professional-grade mobile editor. Our version of KineMaster provides a fully unlocked experience, allowing you to export in 4K, use premium transitions, and—most importantly—produce content without any distracting watermarks.
Ready to level up your content? Download the ultimate green screen video maker today and start building your virtual world!


-

 Best Kinemaster MODs5 months ago
Kinemaster for Beginners: Your First Video in 15 Minutes (No Experience Needed)
-
 Kinemaster Black2 years ago
KineMaster Black Download Latest Version v8.5
-
 Red Kinemaster Download2 years ago
Red Kinemaster Download Apk Latest Version v7.4.11.32428.GP Without Watermark
-
 Kinemaster Old Version2 years ago
KineMaster Old Versions 7.4.10.32410.GP Without Mark
-
 Kinemaster without watermark2 years ago
Kinemaster without watermark Download Latest Version 4.15.5.17370.GP
-
 Kinemaster Diamond Mod Apk2 years ago
Kinemaster Diamond Mod Apk Download Pro Version V7.4.0.32260.GP
-
Best Kinemaster MODs8 months ago
kinemaster pro apk download 2025 full unlocked + no watermark kinemaster mod apk
-
 Kinemaster Blue Apk2 years ago
Kinemaster Blue Apk Download Without Watermark | Latest Version]